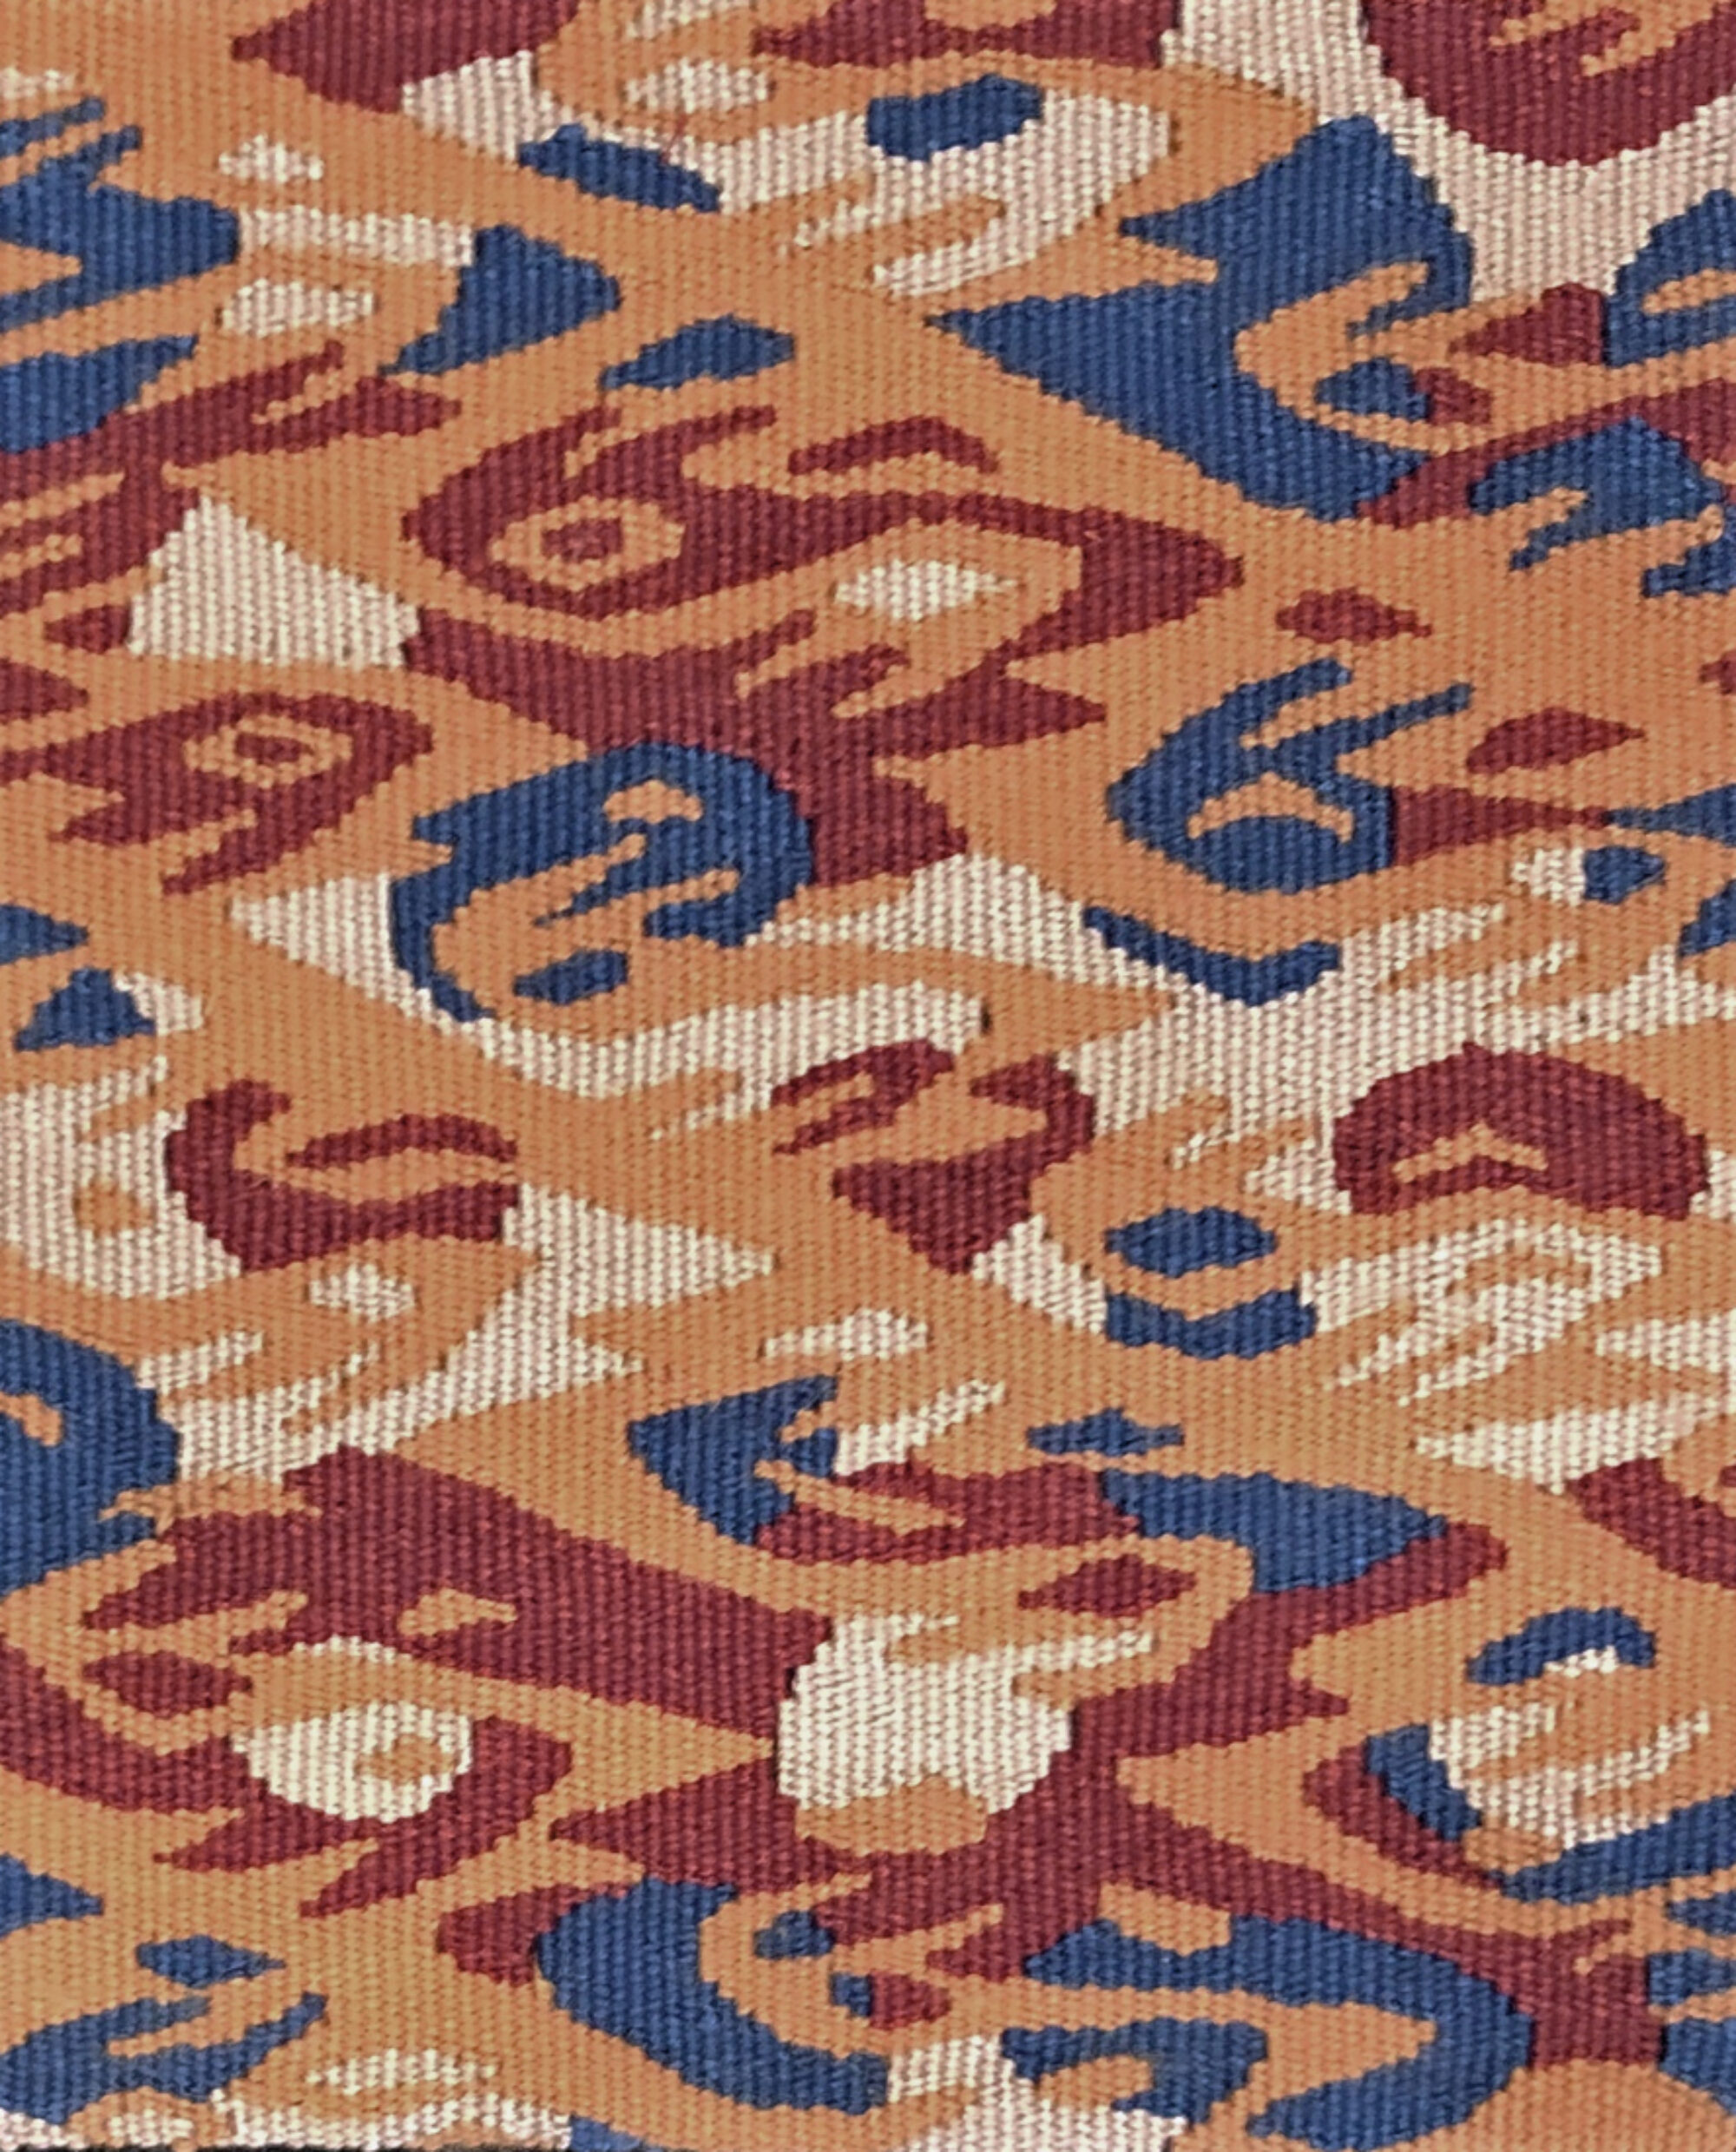
This is one method for mounting small tapestries. For more perspectives, visit Mounting and Hanging Tapestries: A Variety of Solutions on the American Tapestry Alliance website, and Alternative Four Selvedge Finish and Mounting Small Tapestries on Susan Martin Maffei’s website.
1. Sew slits.
2. Sew back warp ends and trim to about 3/4.”
3. Press, or block, if necessary.
4. Assemble a stretcher frame for the tapestry. Make sure it is squared.
5. Cover with felt – stretch the felt tightly around to the back of the frame and staple with a staple gun. Trim excess off the corners so that there is no overlapping felt.
6. Iron fabric for the frame. Lay the frame face down on the back of the fabric on a flat surface. Carefully stretch the fabric tightly so that the weave of the fabric remains square to the frame. Pull it to the back fold over and staple. Fold the corners, cutting out excess fabric, so that the fold in the fabric lies straight down the corner along the seam of the stretchers. Staple at the corners.
7. Fix the tapestry on the surface of the cloth covered frame by pinning it with T pins. Sew around the perimeter making sure that your stitches are hidden in the fabric of the tapestry.
8. This whole unit can be enclosed within a metal or wooden frame if desired. If you cover it with glass, remember that the glass should not touch the fabric.
9. Fix eye hooks and picture hanging wire to the back of the wooden stretcher bars.
